The DAP.LIVE allows you to import your own data into the system. In this tutorial, we will show you how to upload a CSV format file of your data into the DAP.LIVE.
My Data Section
Firstly, you will need to navigate to the 'My Data' section of the DAP.LIVE. You can do this by selecting 'My Data' from the on the left-hand side bar.

Create A New Tabular Datasource
Click on the 'Import Data' button on the top right-hand side of the page and then select the 'New Tabular Datasource' option.

Adding A Title And Column Names
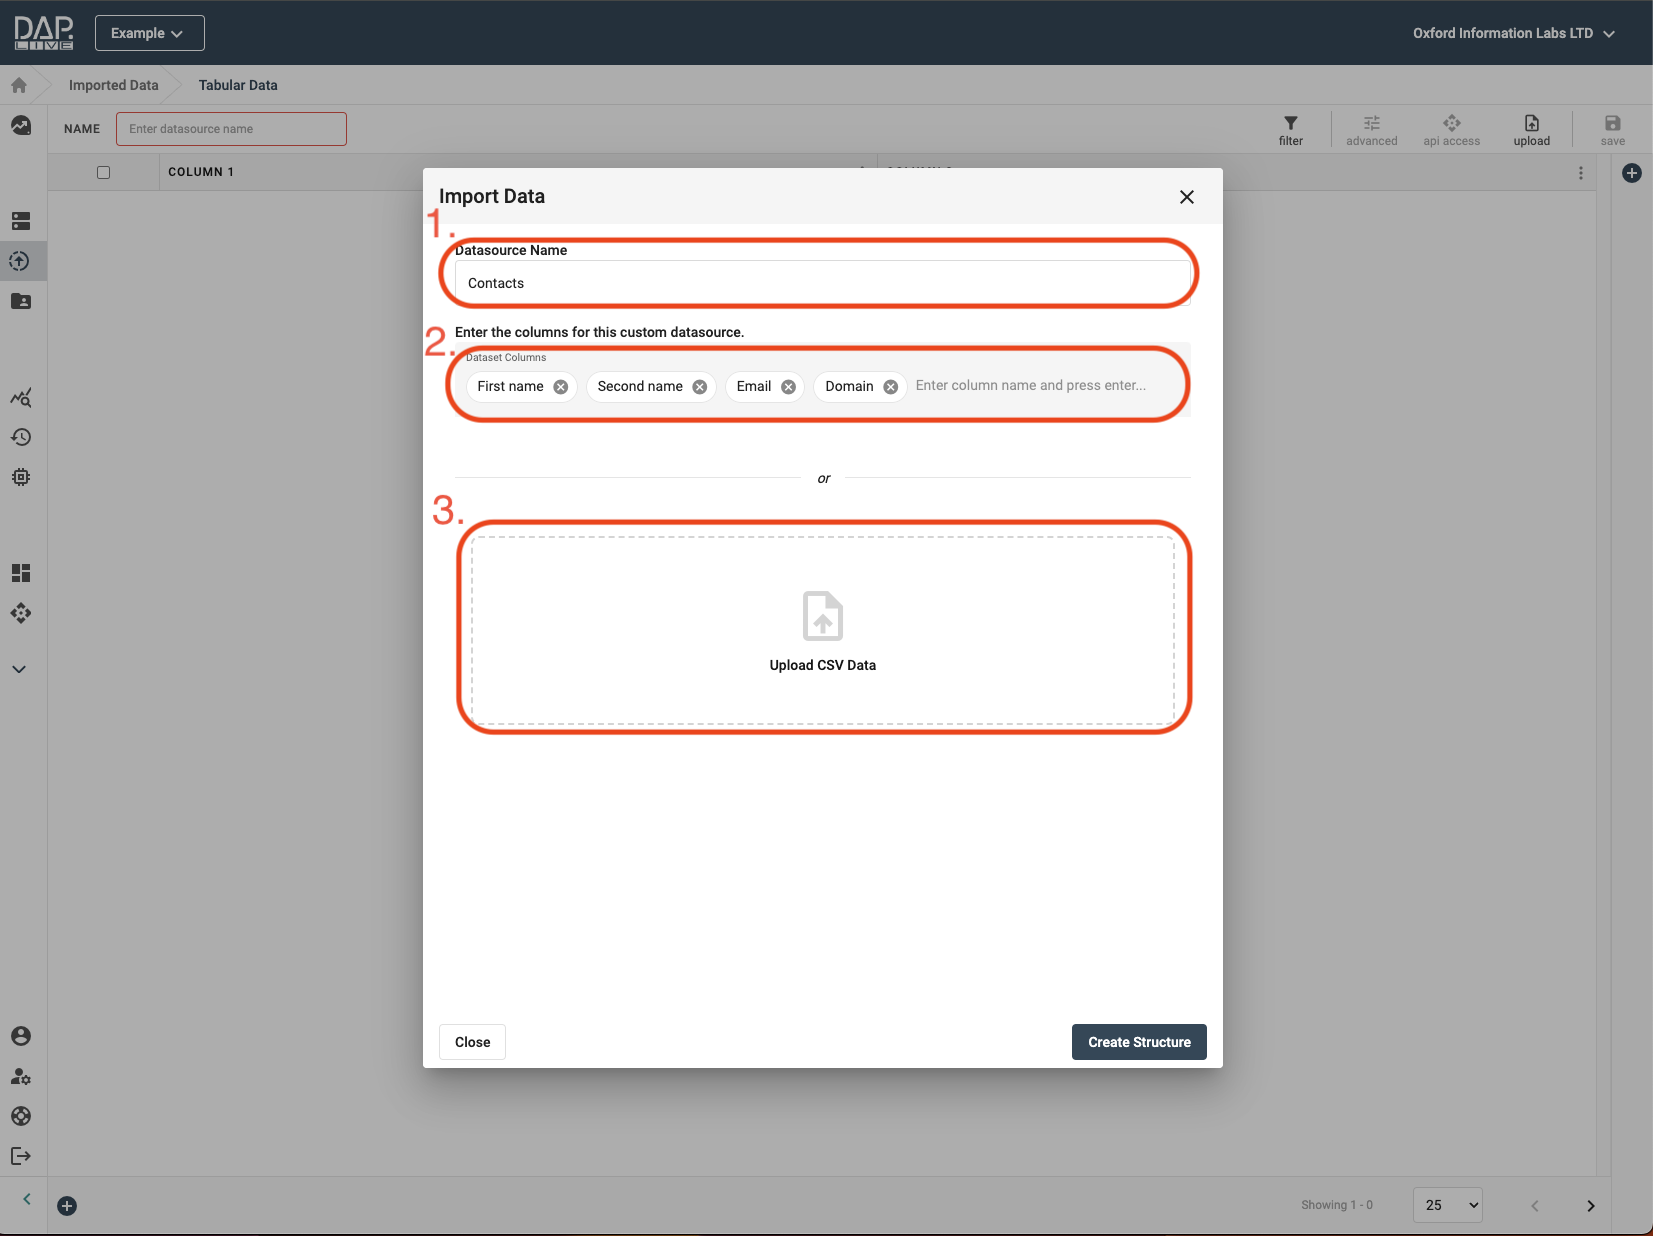
At this point, you can choose to either manually add your data to the DAP.LIVE or to upload it in a CSV file. In this tutorial, we will upload a CSV file and import our data from that.
Give your new datasource a title. If the top line of your CSV file does not contain the column titles for your datasource, or you want to change the names of the column titles from your CSV file, then you add your desired column names into the 'Dataset Columns' box. After you have entered your first column name, press either the enter key or the comma(,) key before moving on to typing out the second column name. Then select the 'Upload CSV Data' option.
Uploading Your File
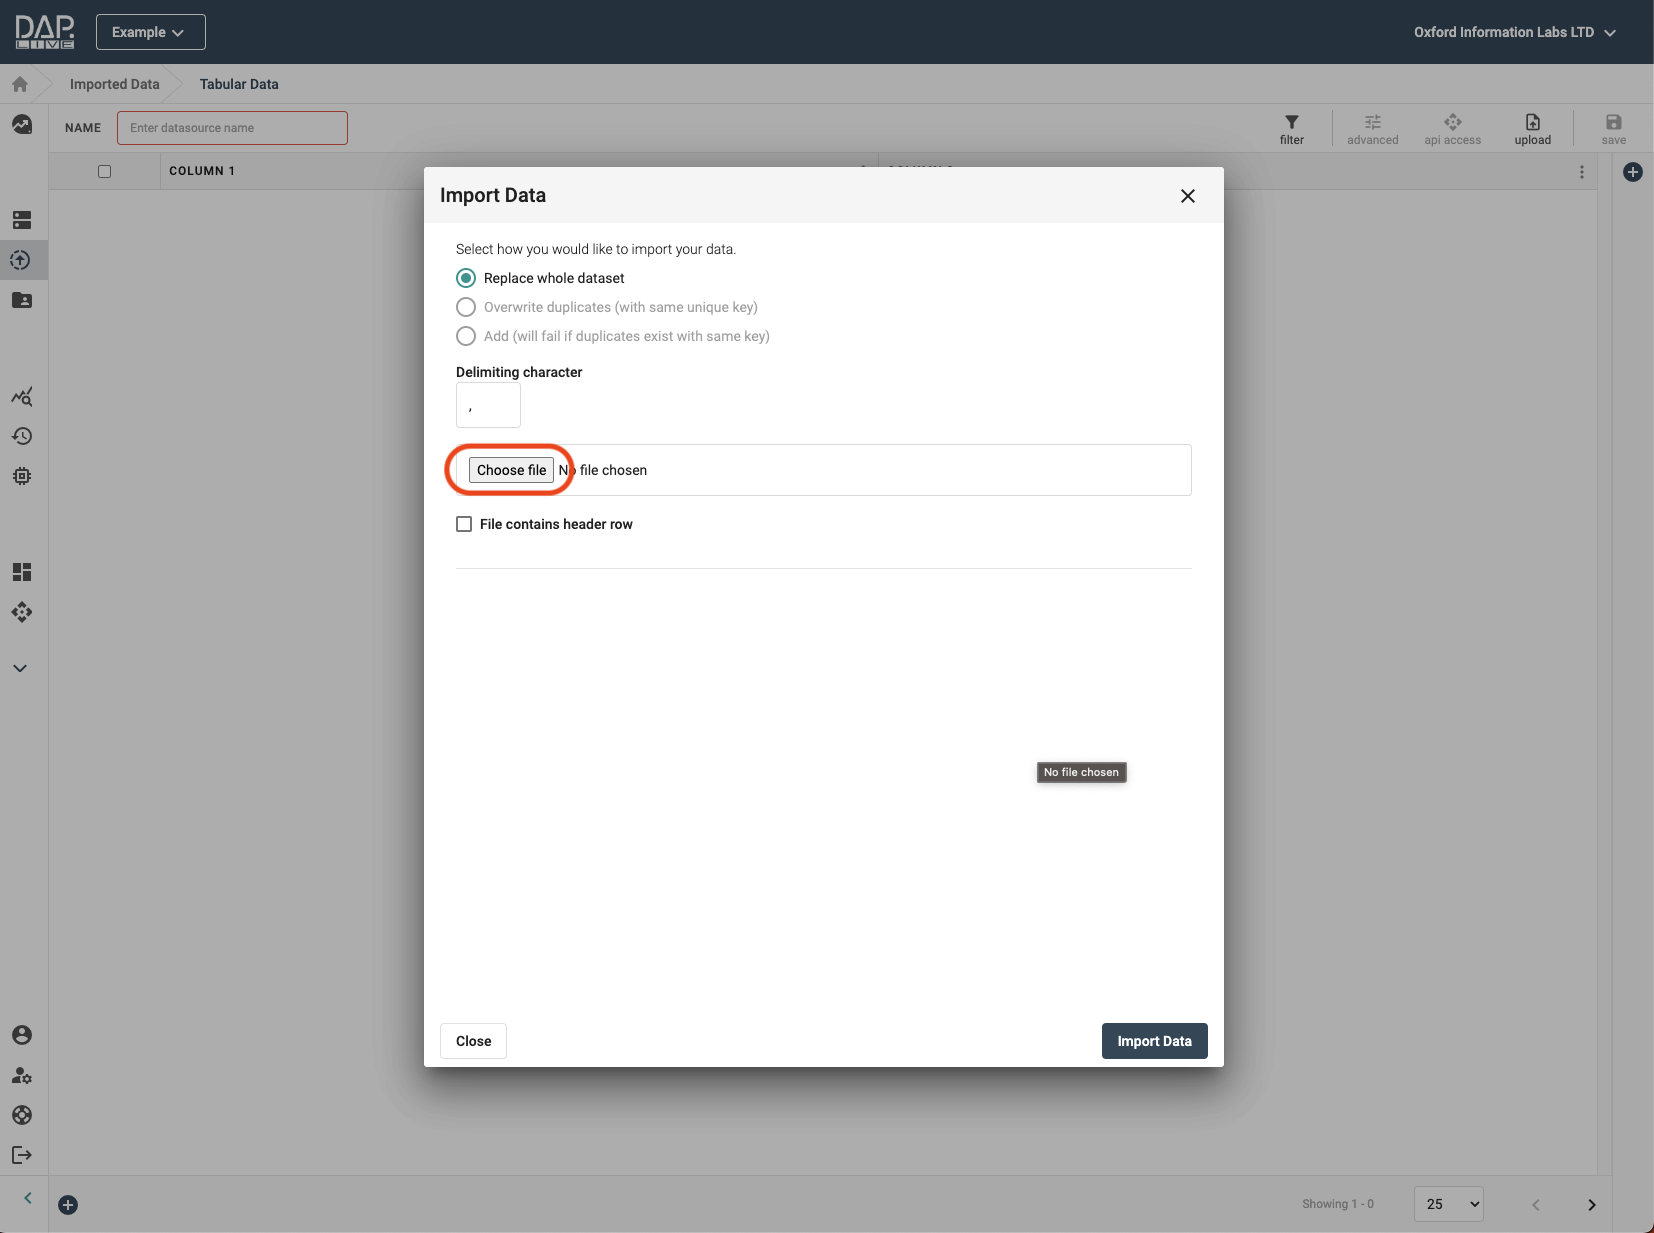
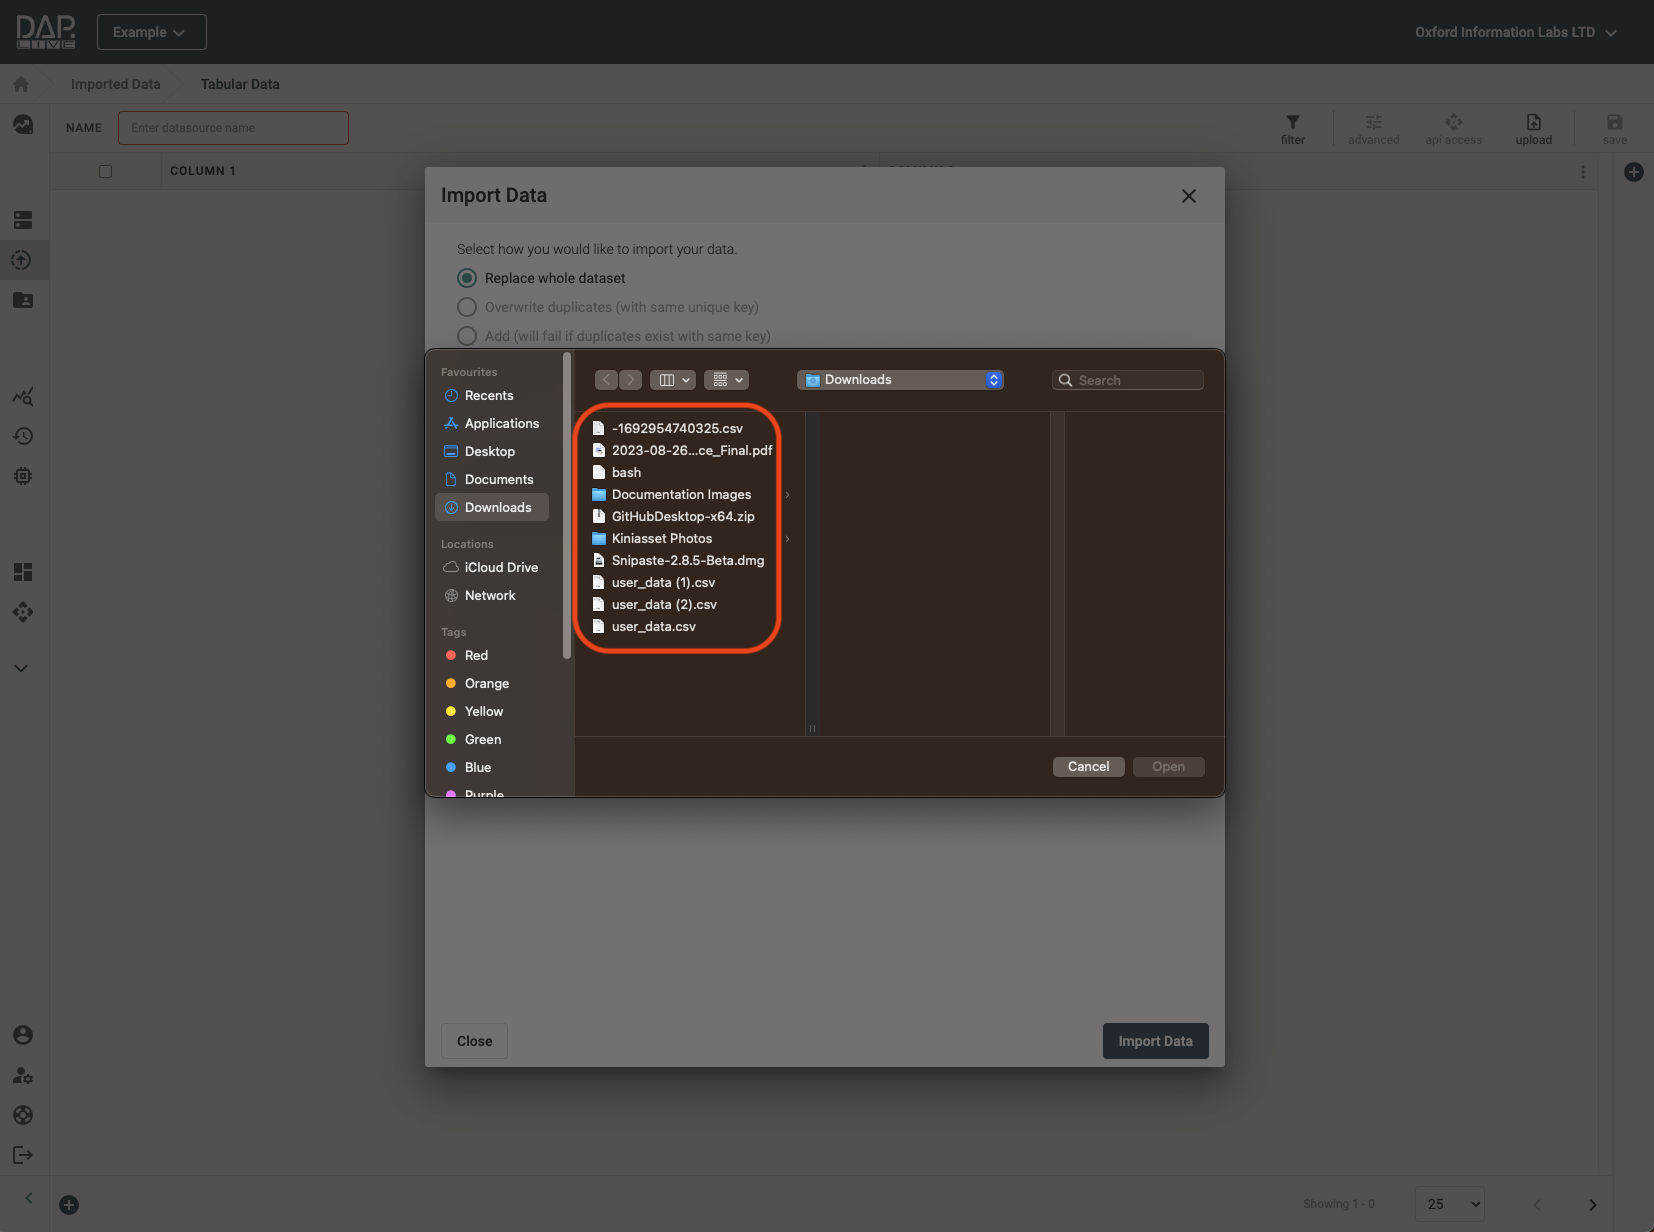
From there, you can chose your CSV file from your desktop. Because it is a CSV file, the delimiting character will be automatically set to a comma but you can change it if your file uses alternative formatting.

Selecting Your Datasource Column Titles
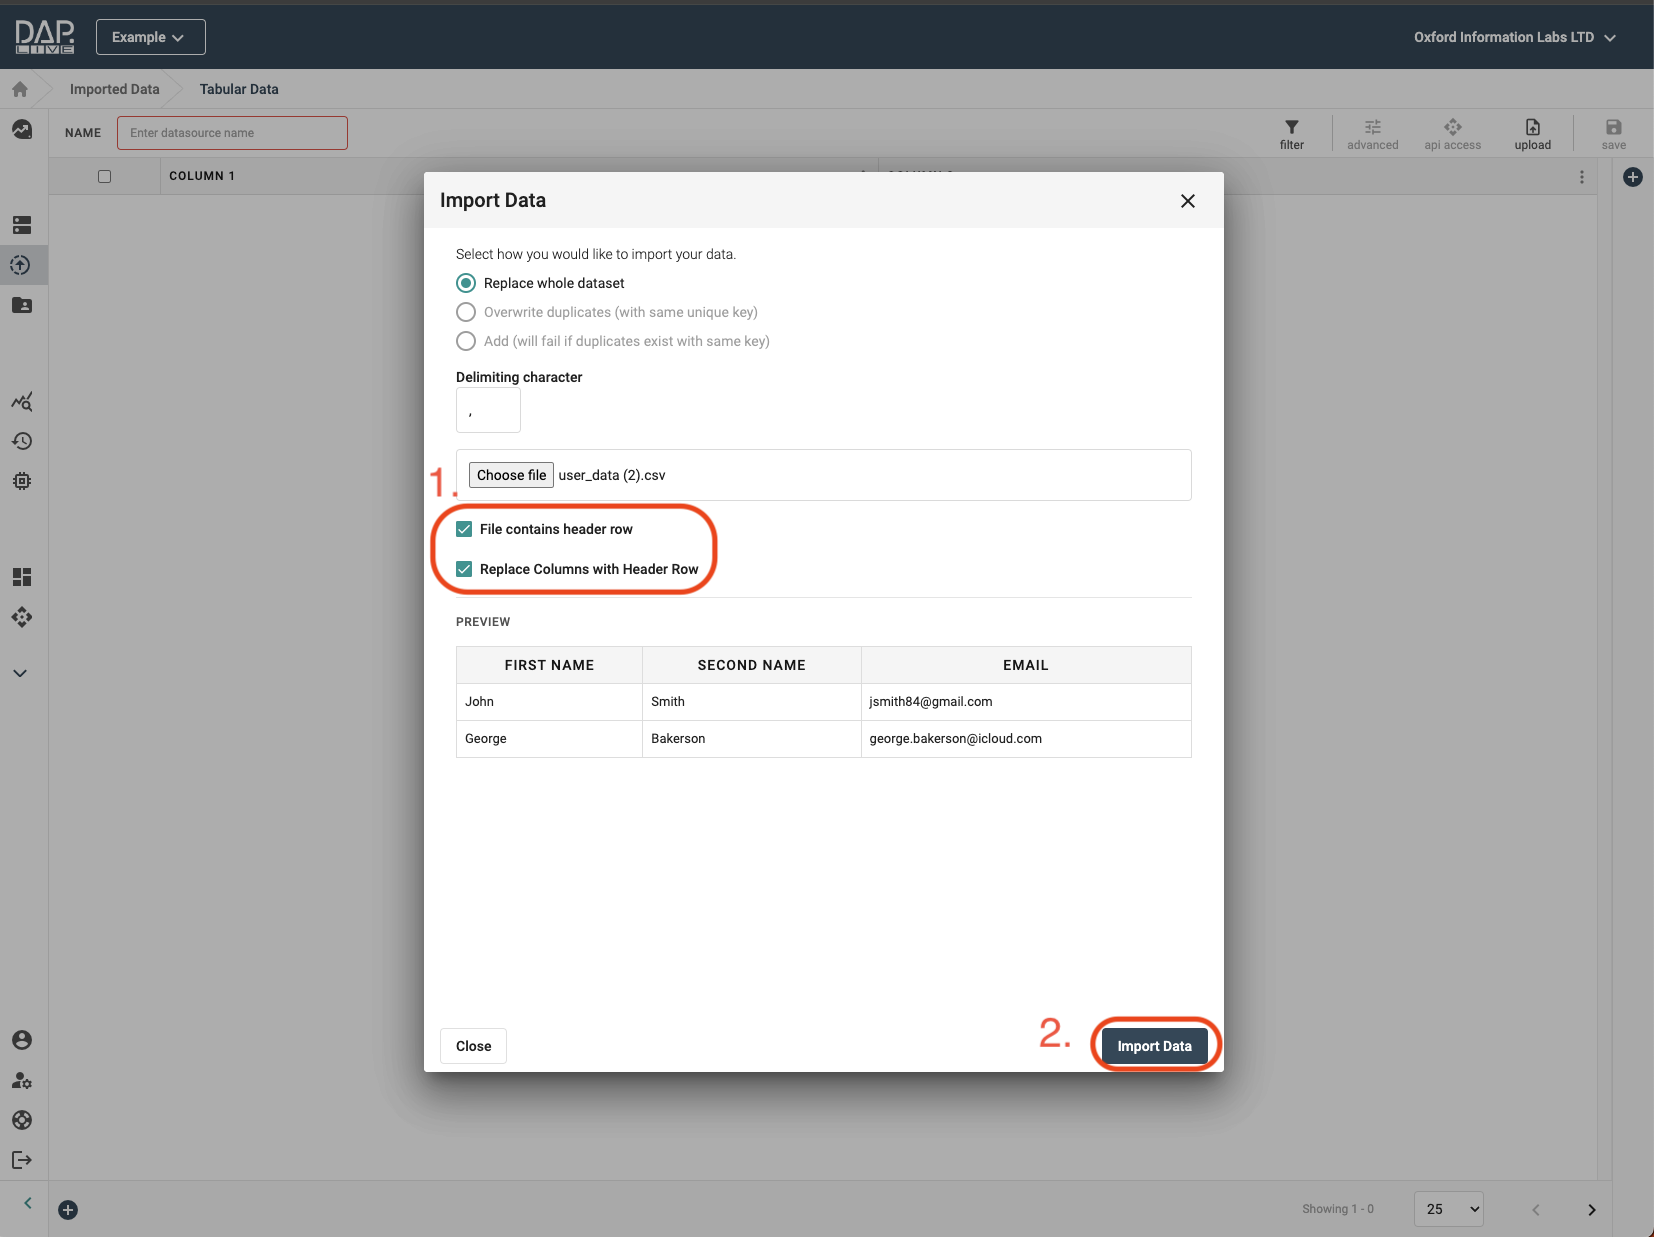
If you chose not to enter column titles before uploading your CSV file, then the top line of the file must contain these titles. If you did enter column titles before uploading your file, then two tick boxes will become available to you. The first tick box confirms whether the top row of your CSV file contains column titles or not. If it does not, then the column titles you entered earlier will automatically be used for your datasource. If your CSV file does contain column titles, then the second tick box will become available to you. If you tick the second tick box, the column titles in the file will be used, otherwise the column titles that you entered before uploading your CSV file will be used. Once you are happy with your column titles, click on the 'Import Data' button to save your new datasource.
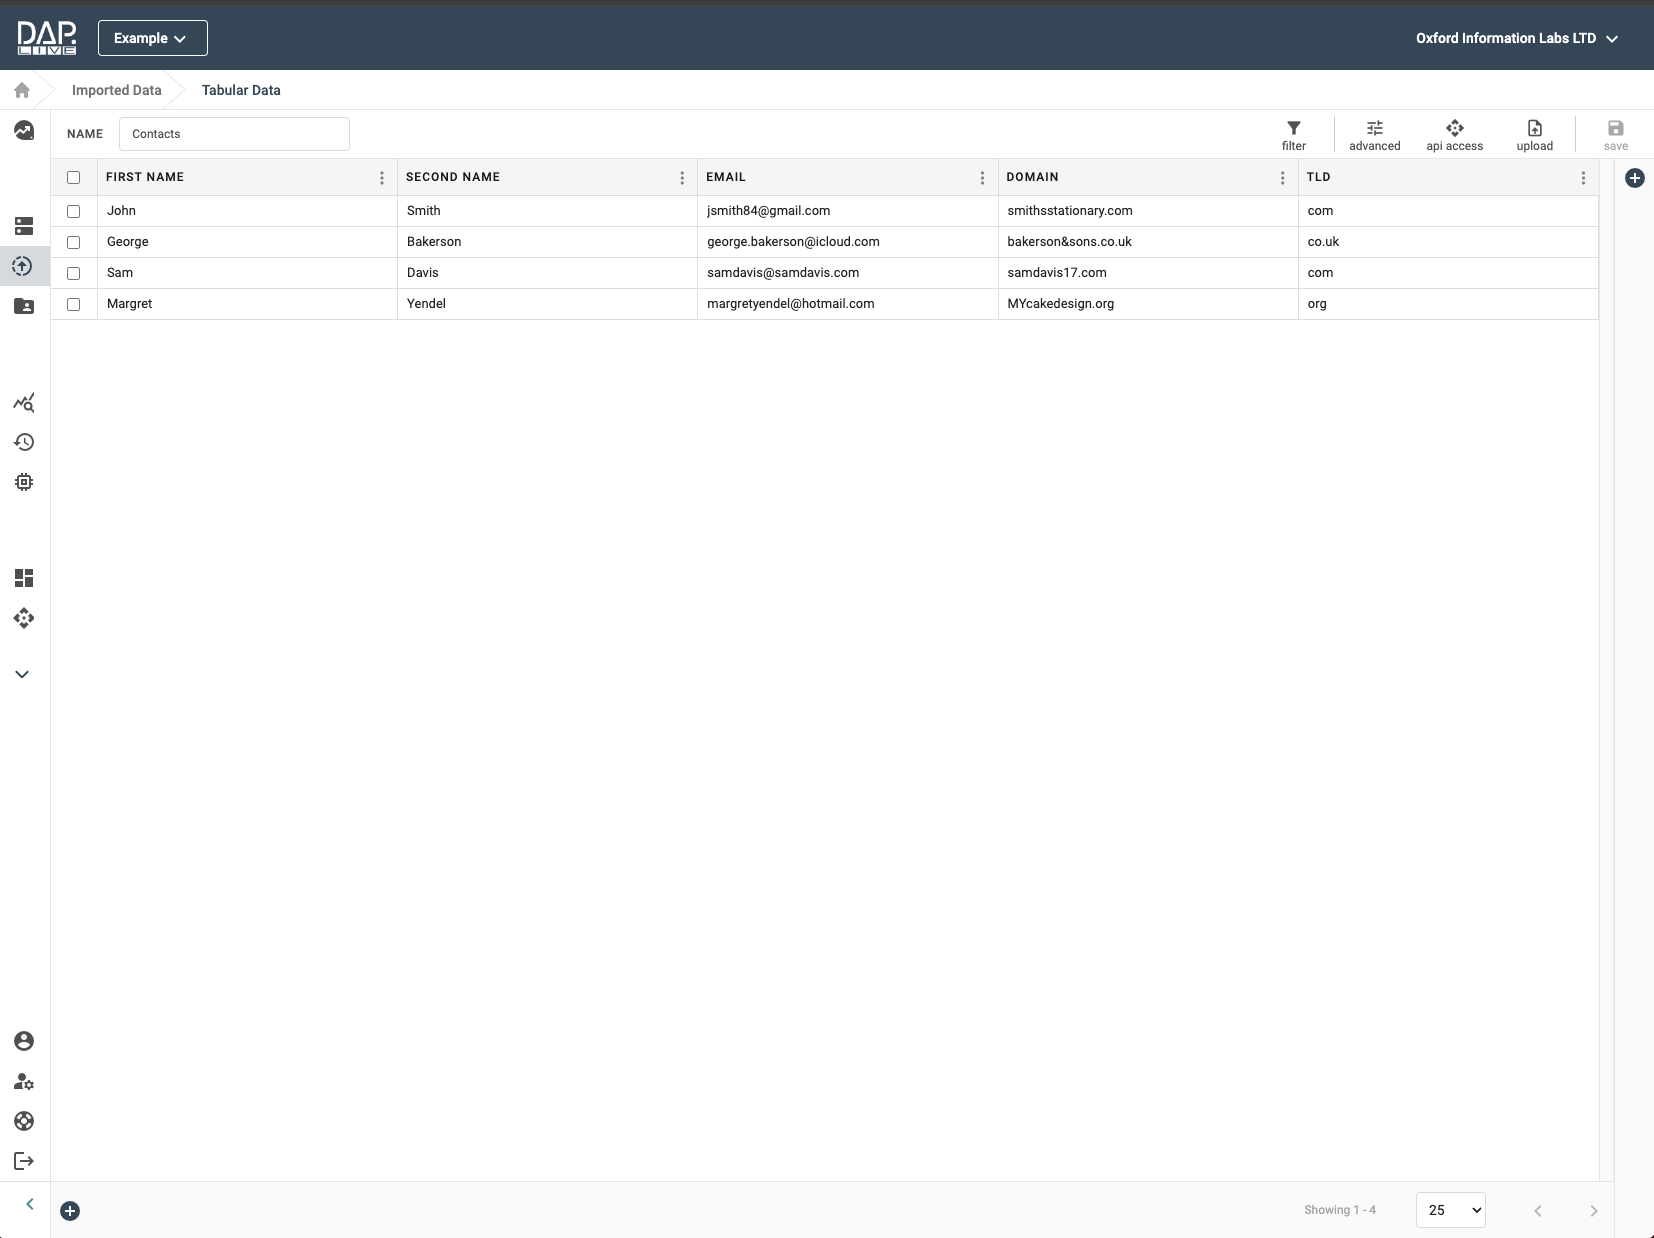
As you can see, the data in our CSV file has now been successfully imported into the DAP.LIVE.