In order to notify the relevant people of changes to you DAP project, you can invite users to your account and create a notification group.
Account Settings Icon
Select 'Account Settings' from the panel on the left-hand side of the page and then click the 'View Account Users' button on the right.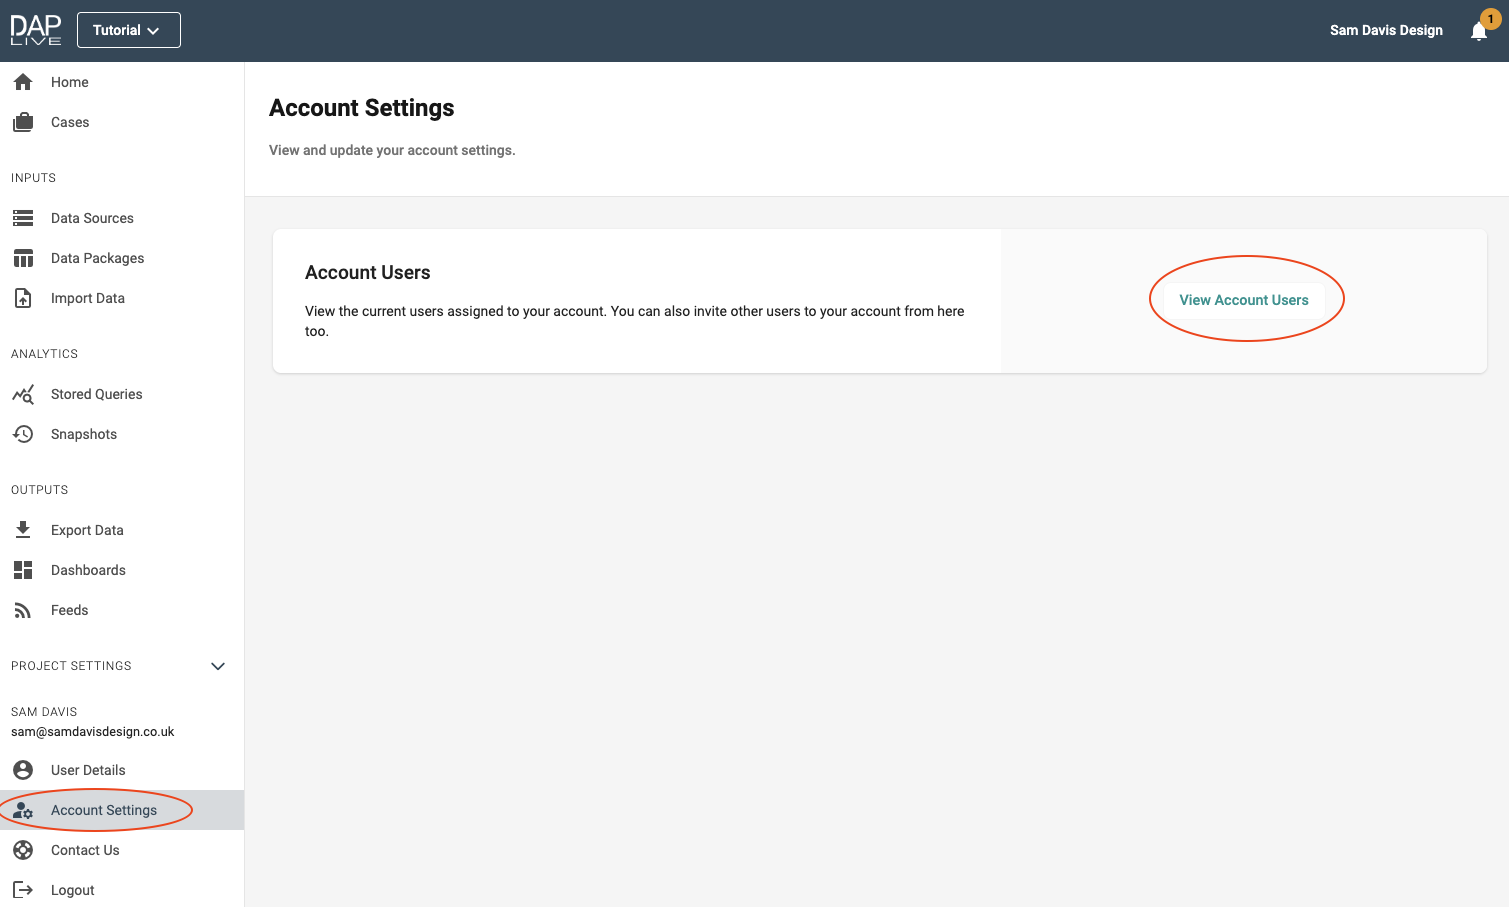
This will show you a list of the current users that have access to you account, this means that you will be able to add them to a Notifications Group. To invite a new user to your account, click 'Invite User' in the top right-hand corner.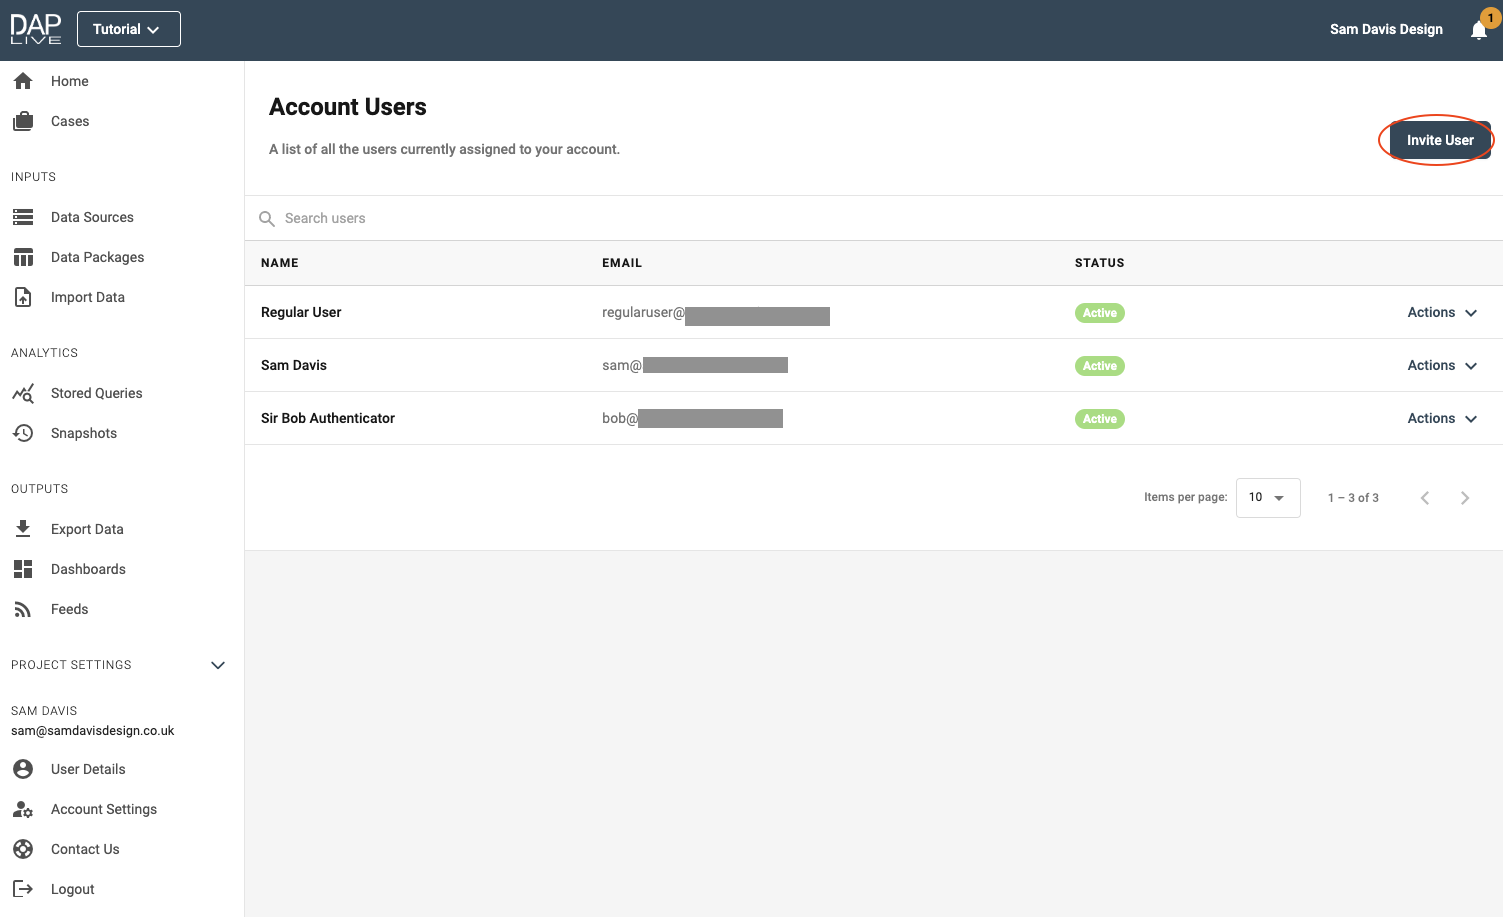
Enter the email address of your new user and then select which permission levels they should be granted on your account.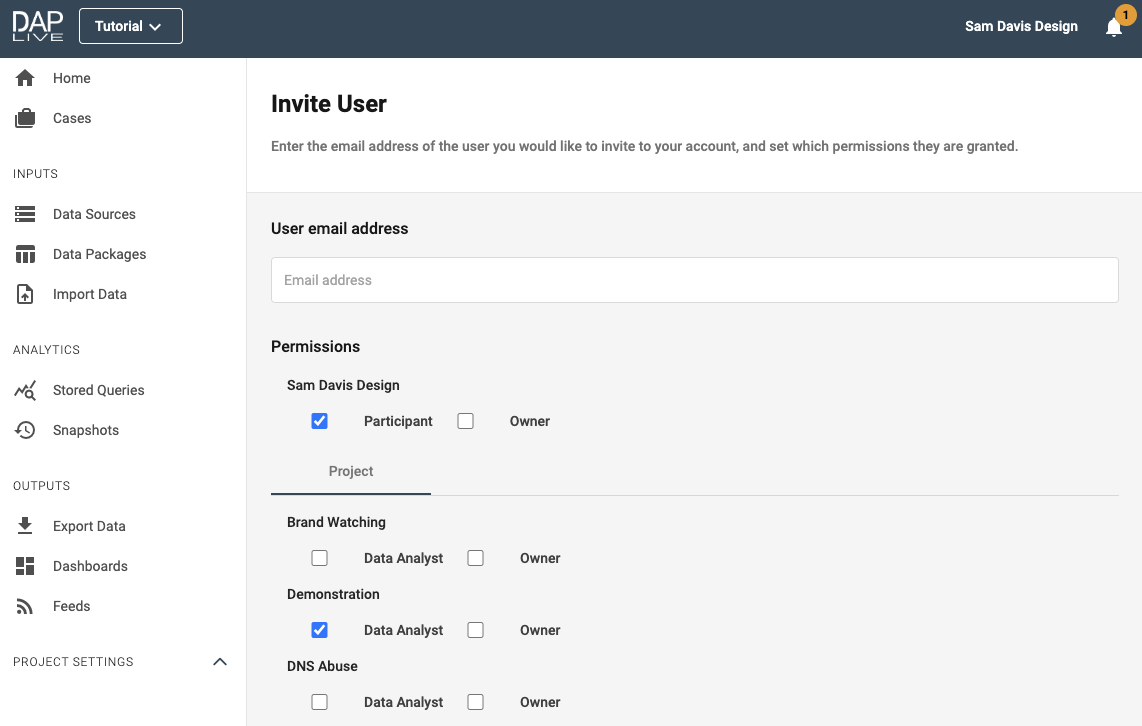
The user will then be sent an email from which they can activate themselves as a user on your account.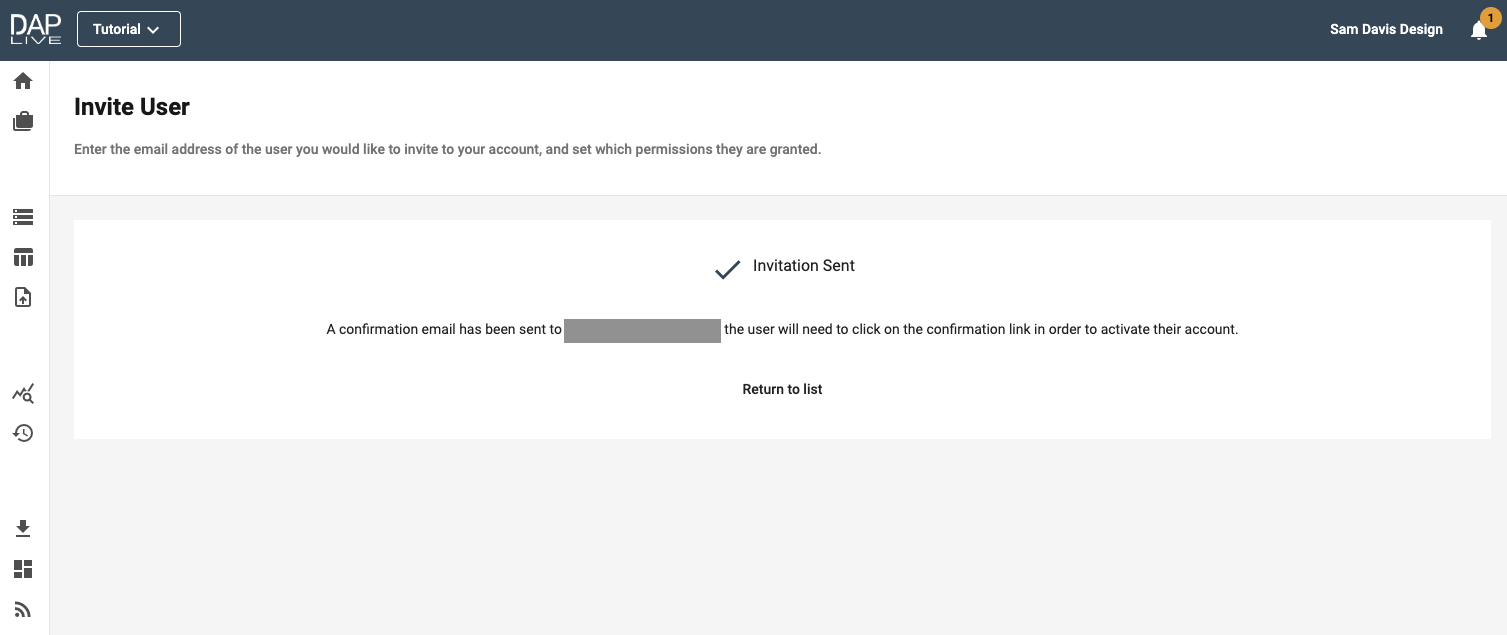
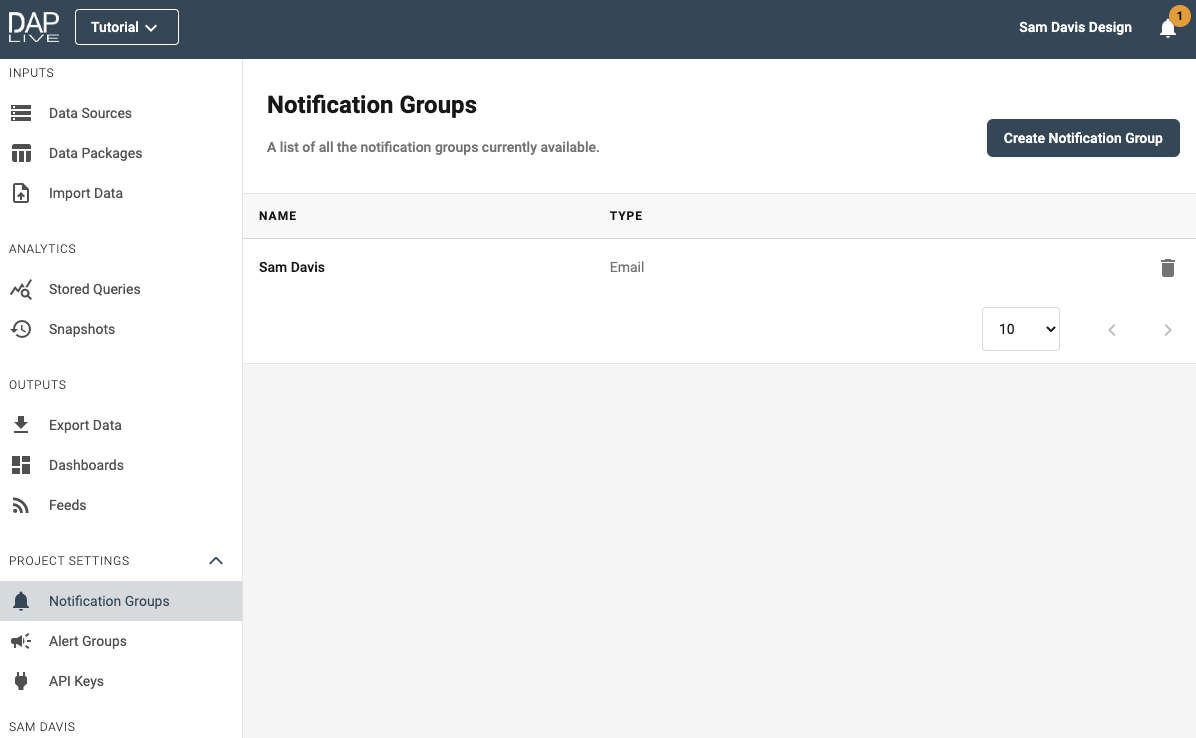
Once you have added any users that you would like to be part of your Notification Group, select 'Notification Groups' from the panel on the left-hand side of the page. To create your new Notification Group you can either click the large 'Create Notification Group' icon in the middle of the page or the smaller 'Create Notification Group' button in the top right corner.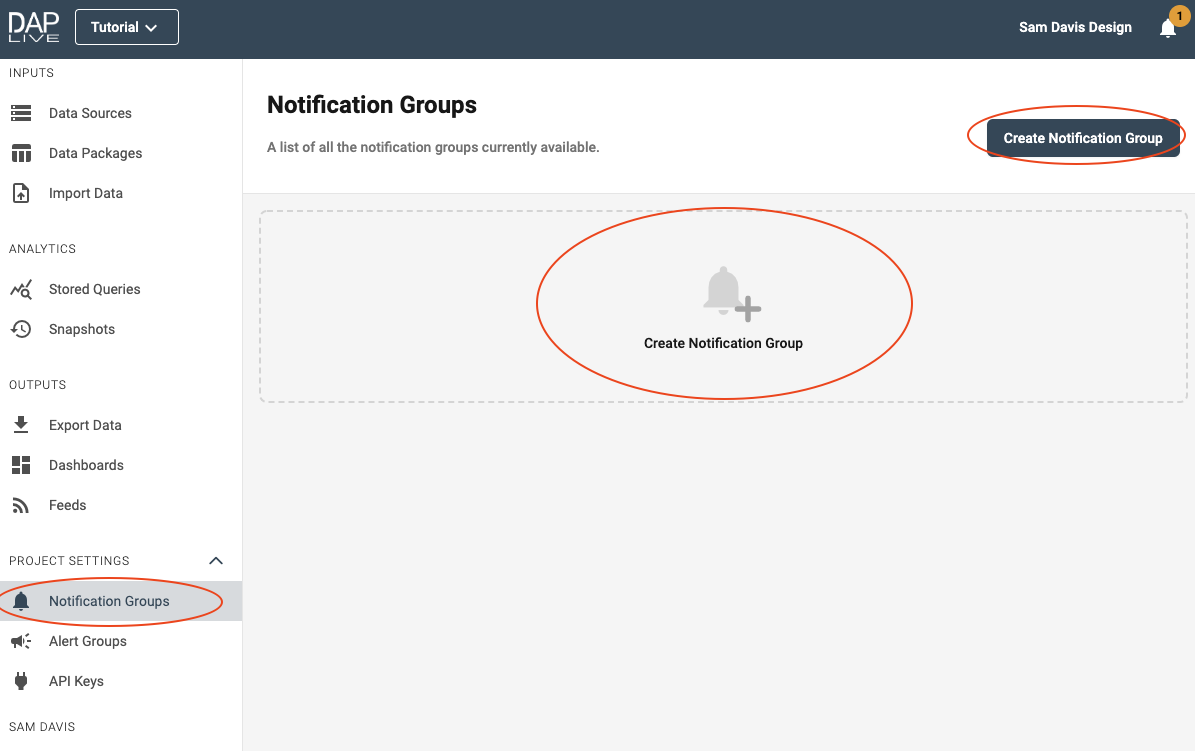
Give your Notification Group a name. Because in this example, I only want one person in this group, I am going to name the group after that person. Then select the person or people that you would like to be in the notification group and the way in which you would like your group to notified.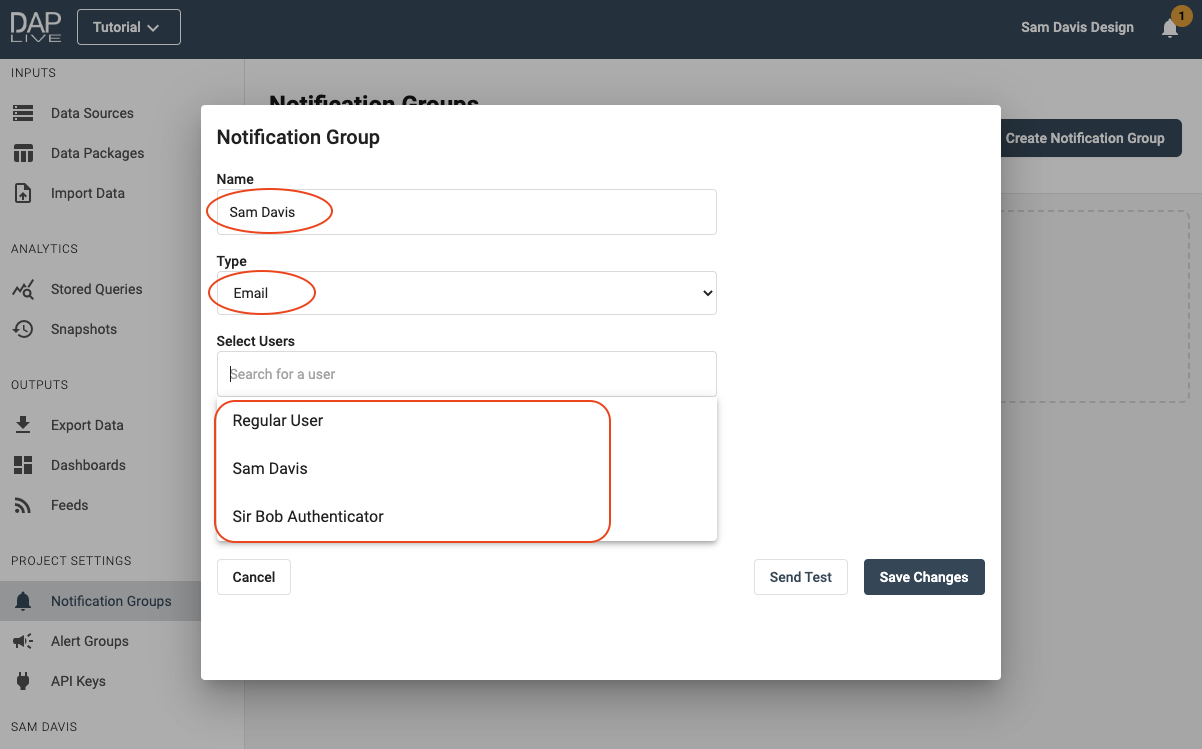
Continue to add people until you are happy with the group and then click 'Save Changes'
Once your Notification Group has been saved, you will be able to send notifications to them using Alert Groups.